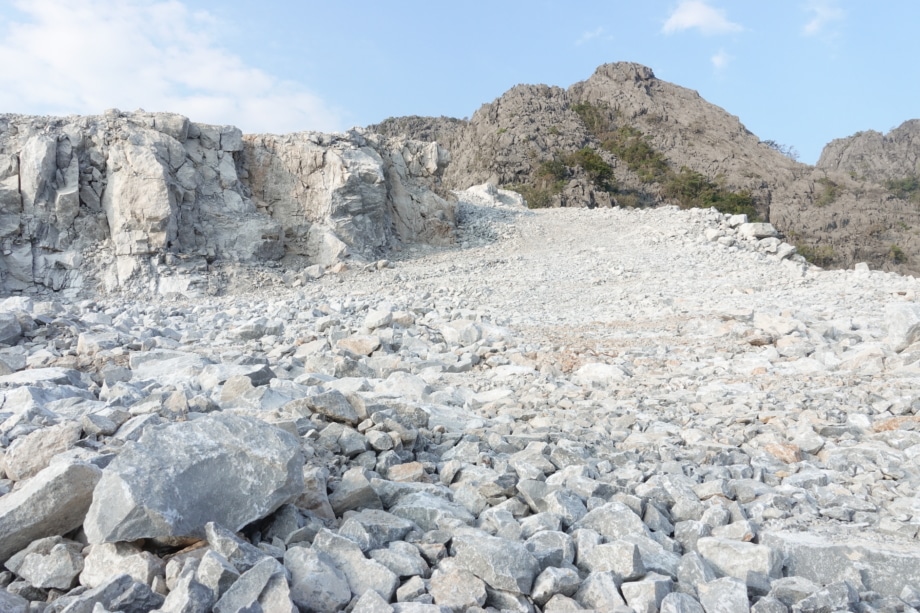
The process
When chalk or limestone is burnt and then rehydrated (slaked) under an excess of water, it forms a putty or non-hydraulic fat lime.
When mixed with sand or aggregates, a very versatile and hard-wearing mortar, render or plaster is produced which is suitable for most internal and external applications for heritage works or new buildings alike. Animal hair (usually horse) is added to the mix for strengthening purposes.
Widely used modern gypsum and cement-based products have a chemical set resulting in a very hard and impervious material which if used inappropriately on older buildings, can damage and affect the softer more flexible build-up of structure.
The process of lime plastering
-
STEP 1
-
STEP 2
-
STEP 3
-
STEP 4
Background Preparation
- Before any plastering can happen, the background must be prepared to ensure that it is suitable to receive new plaster.
- If the substrate is masonry, any loose debris must be scraped off to leave a flat surface.
- The masonry is then dampened down to control the suction.
- If the substrate is lath, they must all be fixed with an appropriate gap (usually a lath thickness). The laths are also dampened down to control suction.
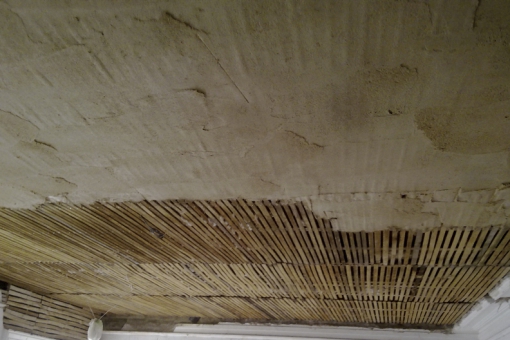
Scratch Coat
- The 1st coat is known as a scratch coat because the surface has lines scratched in to act as a key for the next coat.
- The mix is usually 1 part lime putty to 2 & 1⁄2 parts coarse, well graded sharp sand. Hair (normally hair or goat) is added to give it tensile strength.
- In most cases, the 1st coat is applied no thicker than 15mm.
- Whilst still wet, a scratcher is used to create a diamond or lattice pattern.
- This is left to cure for 5-10 days depending on conditions.

Float Coat
- The 2nd coat is known as a float coat and is used to bring the surface level.
- The mix is less rich than the 1st, normally 1 part lime putty to 3 parts medium, well-graded sand. Hair is also added to this coat.
- The thickness of the float coat should not exceed that of the previous.
- A level surface is achieved by using a long straight edge or feather edge which is passed over the wet surface to remove undulations.
- Once the surface is level and it has begun to stiffen up, a devil float (wooden float with nails/screws driven through 2mm) is rubbed over the surface to form a key.
- This is left to cure for 5-10 days.

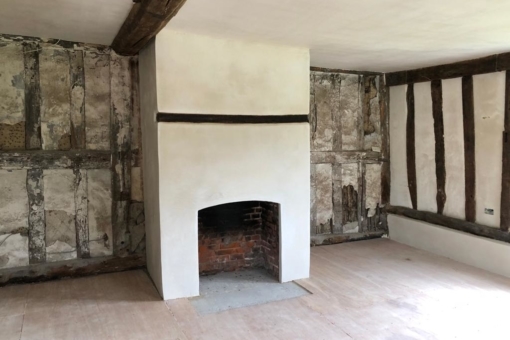
Finish Coat
- The 3rd coat is known as a finish or setting coat.
- It is the thinnest of 3 often applied 2-5mm thick.
- The mix is typically 3 parts lime putty to 1 part silver sand.
- The setting coat is applied in 2 very thin layers and is laid down once the previous coat is beginning to steady up.
- The surface is worked over using a trowel to achieve a smooth flat finish or a wooden or sponge float to achieve an open-textured finish.
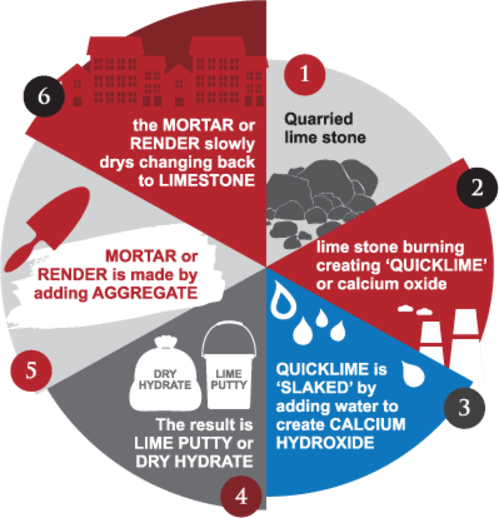
What is Lime?
When chalk or limestone is burnt and then re hydrated (slaked) under an excess of water, it forms a putty or non-hydraulic fat lime. When mixed with sand or aggregates, a very versatile and hard wearing mortar, render or plaster is produced which is suitable for most internal and external applications for heritage works or new buildings alike.
Animal hair (usually horse) is added to the mix for strengthening purposes.
Lime sets or carbonises from Co2 in the presence of moisture in the air, offsetting some of the carbon from its original manufacture, making it a sustainable and eco friendly material. Lime mortars and plasters are flexible and allow masonry and plaster breathe resulting in less cracking, moisture retention and healthier homes to live in.
Widely used modern gypsum and cement based products have a chemical set resulting in a very hard and impervious material which if used inappropriately on older buildings, can damage and effect the softer more flexible build-up of structure.